
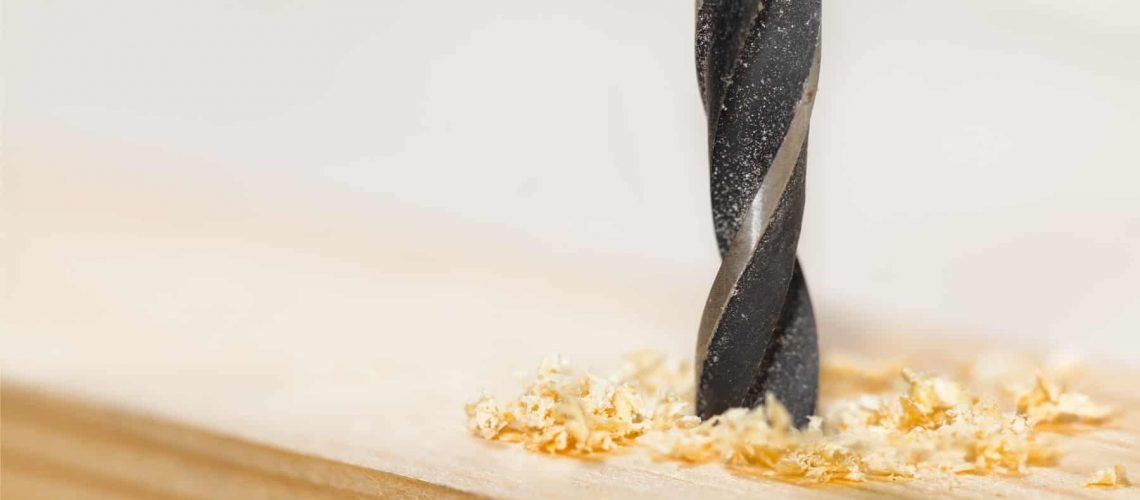

Does your drill bit fall off every time you use the drill? If you nod a yes, join the club. A loose drill bit is quite troublesome, but we’ve got to learn on in the little secret to tightening it the right way.
Your drill bit will keep falling off if it is not locked in on the drill. When you operate the drill with an unlocked drill chuck, the drill bit or even the auger bit will become loose and come out. You have to ensure the drill bit is properly tightened before you use the machine, and we’re going to learn the secret to stop drill bits from slipping every now and then.
In this article, we will cover:
- Locking the drill bit into place safely
- How else can I keep my drill bit tightly locked?
- How to clean the drill chuck?
Cordless drills are particularly bothersome when it comes to tightening their drill bits into the chucks. We know that the specific information of the process is not readily available from the manufacturer or the customer service, which is why we are going to explain the right way of doing it that nobody else knows for sure.

Locking the drill bit into place safely
If you type this question into the YouTube search bar, you’ll come across hundreds of videos explaining the process of tightly locking the drill bit into its place. But here’s something none of the videos would tell you; you’re doing it the wrong way.
That’s right. All the online content that YouTubers create to school you into locking the drill bit has some loopholes in them. Of course, it’s difficult to digest that all the videos you might have streamed in an attempt to find out the solution to this pressing question were wrong, but it’s always better to be late than never.
We’re going to learn the right way of ensuring the drill bit is locked safely into its place, without your hand burning, in the next moment.
- For a cordless drill, insert the drill bit into the drill chuck.
- Once inserted, tighten the drill bit into the chuck until it clicks several times into its place.
- Next, rotate the chuck in the opposite way. Continue doing so until you hear and feel one final click.
- As soon as you hear the last click, it is then you know that the drill bit has been securely locked in its place.
Besides following the abovementioned process, there is another inside trick to prevent the drill bit from falling off.
How else can I keep my drill bit tightly locked?
Most key-less ducts that are used on the cordless drills can be easily separated. You can open the jaws of the chuck to their maximum torque and inspect it under good light to see signs of any dirt and debris. Cleaning the drill chuck is an essential factor in locking the drill bit, and we’ll explore this process in detail later. You may also try opening the jaws of the chuck half-way while making sure there is still some room left between them.
There is another method that you can use to tighten the drill bit without burning your hand. It goes something like this:
Insert the drill bit into the chuck using your index finger and thumb, and then squeeze the trigger a few times. This will firmly lock and tighten the bit into its place. Next, spot the ratcheting mechanism located next to the chuck and twist it in a clockwise direction. Slide the bit out once done, and you have your drill bit secured firm. If your drill chuck has a key, you can insert it and turn it clockwise instead.
How to clean the drill chuck?
It is important to clean, oil, or maintain the drills that you work with. In fact, all machinery has to be lubricated at some point to ensure their smooth working. It is because when the metal comes in contact with other surfaces, including metal, plastics, wood, or anything else, it can chip and become dull. Proper lubrication and oiling can effectively prevent these damaging effects. On top of it, a cleaned drill chuck enables the drill bit to lock securely in its place.
We have compiled the easiest method of cleaning the drill chuck and other parts of the drill.
- As you’d know, the chuck is the part of the drill where the drill bit sits when you operate it. You have to remove the bit completely from the chuck and add a few drops of oil lubricant into the empty chuck. Open and close the jaws of the chuck five times to ensure the lubricant is evenly spread.
- Make sure you have not used too much oil lubricant as it can cause the debris to stick instead of being cleaned out. If there’s an excess of oil, use a soft cloth and dab it. If you do not remove the excess oil, it can cause debris to stick inside the chuck, causing blockages that are just as bad as not using the lubricant. A properly cleaned drill chuck is critical to ensuring the drill bit does not fall out.
- Once done, replace the bit into its place and tighten it using the method we explained in the above sections. Operate the drill for about 20 to 30 seconds so that it is moved around in the chuck roughly and sees to it that the bit does not fall off.
- That’s about it. Start using the drill for your projects without worrying about the bit becoming loose or falling out in midway operation.
It is important to note that process of cleaning the drills may vary depending on the type of drill you have. We have explained the method for cordless drills, which is why it is also important to remember that the battery must always be removed before you can clean the insides of the cordless drill.
Most manufacturers have cleaning instructions provided with the package, such as unscrewing the screws on the exterior to clean out the clogs and debris.
Unlike the cleaning part, tightening of the drill bit is not as easily available or explained. We hope with the method we have explained in this article, your drill bit will no longer fall off and will remain in place without any hassle.